
Table of contents
Custom embroidered patches are having a moment — on denim jackets and work uniforms, on scout sashes and band merch, on hydro flasks and hat fronts. They’re the cheapest way to get real embroidery onto almost anything, and one design can be reproduced dozens of times for pennies compared to direct stitching. But ordering patches involves a handful of decisions most people have never thought about: twill or felt? Merrowed or laser-cut? Iron-on, sew-on, or Velcro? This guide walks through every choice so you can order once and get exactly what you pictured.
What is an embroidered patch, exactly?
A patch is embroidery stitched onto a stable base fabric (usually polyester twill), cut to shape, edged, and finished with a backing. Because the patch is made separately and then attached, it works on things that are impossible to hoop in an embroidery machine — finished jackets, bags, hats with seams, leather, even display frames. And unlike direct embroidery, patches are transferable: when the jacket wears out, the patch moves on.
Embroidery coverage: 50%, 75% or 100%
Patch pricing and look are driven by how much of the base twill is covered in thread. 50% coverage leaves the twill visible as the background — clean, classic, budget-friendly, great for text badges. 75% covers most of the surface with the twill peeking through as an accent. 100% coverage stitches the entire surface, including the background — the richest look, the one you see on quality military and motorcycle patches. If your design has a solid-color background anyway, 100% coverage is usually worth the small upcharge.
Border types: merrowed vs. laser-cut
The edge finish changes the whole personality of a patch.
- Merrowed border — the traditional wrapped-thread edge, about 3 mm thick, slightly raised. Best for simple shapes: circles, ovals, shields, rectangles. It’s the “classic patch” look and adds durability.
- Laser-cut (hot-cut) border — the patch is cut precisely along any outline and sealed by heat. Choose this for complex silhouettes: mascots, animals, lettering that isn’t enclosed in a shape.
Rule of thumb: if you can draw your patch outline without lifting the pen and it’s a simple geometric shape, merrow it. Otherwise, laser-cut.
Backing options: how will you attach it?
- Iron-on — heat-activated adhesive. Position, press with a household iron for 20–30 seconds, done. Perfect for jackets, jeans and bags. Survives normal washing if you avoid high-heat drying; for garments washed constantly (workwear), add a few tack stitches at the corners.
- Sew-on — no adhesive, maximum permanence, lies the flattest. The right choice for uniforms and anything dry-cleaned or industrially laundered.
- Velcro (hook & loop) — removable and swappable, standard for tactical gear, morale patches and anything you rotate.
- No backing — for collectors, display, or if you’ll sew it into a quilt or frame it.
Size and design tips that save you money (and disappointment)
- Standard sizing trick: patch price scales with (width + height) ÷ 2. A 7–9 cm patch is the sweet spot for jackets and caps.
- Keep text ≥ 4 mm tall. Smaller letters fill in and become unreadable in thread. Fewer, bolder words always beat a paragraph.
- Limit fine details. Thread has physical width (~0.4 mm per strand). Simplify tiny elements or they’ll turn to mush — a good digitizer will flag this before stitching.
- Up to 9 thread colors is standard at no extra cost with most makers (including us). Gradients are approximated with blended stitching.
- Send vector files when possible (SVG, AI, PDF) — but a clean, high-res PNG works fine. We redraw artwork as part of digitizing anyway.
What do custom patches cost?
For a typical 8 cm, 100%-coverage patch: singles run $10–15 including digitizing; at 10 pieces the per-patch price drops to roughly $5–6; at 100+ pieces, $1.50–3 each depending on size and coverage. That curve is why patches are the go-to for clubs and small brands — one digitizing fee, then every additional patch is cheap. Our single custom patch is $12.99 and the 10-piece set works out to $6 per patch; larger runs are quoted by email with tiered pricing.
How to iron on a patch properly
- Set the iron to cotton temperature (~150°C), no steam.
- Pre-press the garment area for 5 seconds so it’s warm and flat.
- Position the patch, cover with a thin cotton cloth.
- Press straight down with firm pressure for 20–30 seconds — don’t slide the iron.
- Flip the garment and press the reverse side another 20 seconds.
- Let it cool completely before checking the edges.
Wash garments with iron-on patches inside out in cold water, and skip high-heat drying — heat is what loosens adhesive. Full care details are in our embroidery care guide.
Patches vs. direct embroidery: which do you need?
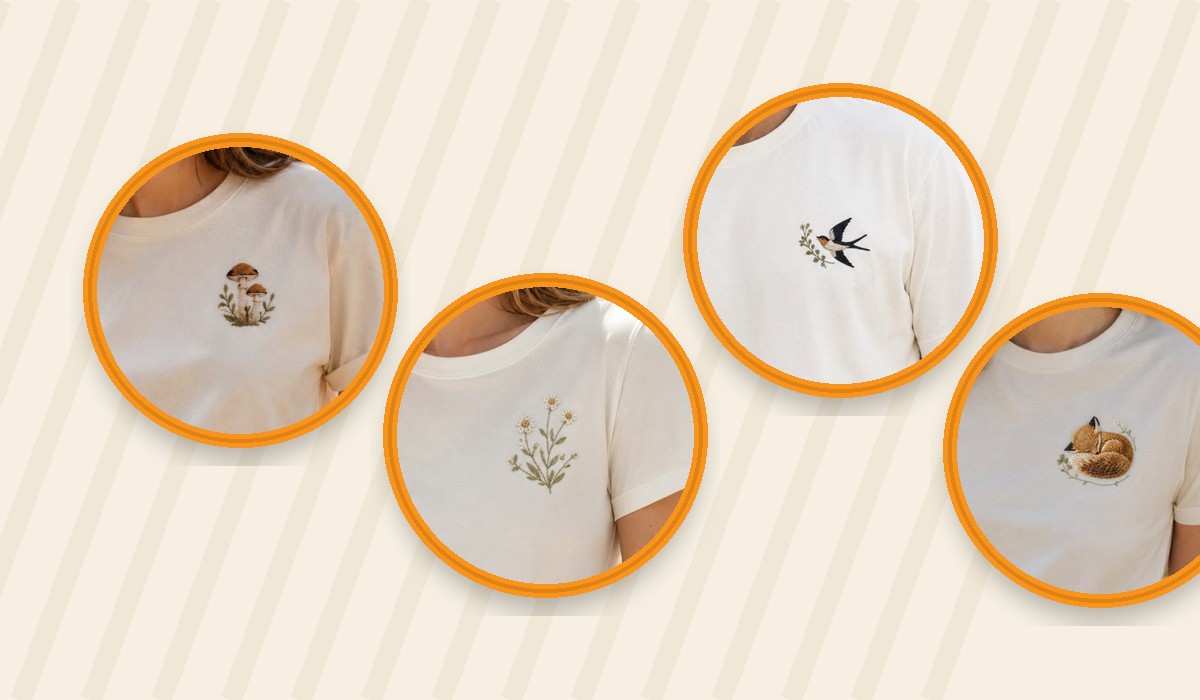
Direct embroidery (stitching straight onto the garment) looks the most integrated and premium — it’s what we do for our embroidered tees and custom logo shirts. Patches win when you need the same design on many different items, when the item can’t be hooped (finished caps, bags, leather), when you want removability, or when budget-per-unit matters most. Plenty of teams do both: direct embroidery on staff polos, matching patches for members and fans.
Ordering from Kimnim: how it works
Order online, then reply to your confirmation email with your artwork and choices (size, coverage, border, backing). Within 48 hours we send a free digital stitch preview showing exactly how your design translates to thread — we only start production after you approve it, and ship within 3–5 business days with worldwide tracking. If a detail won’t stitch well at your chosen size, we’ll suggest fixes before anything is sewn. Questions first? Email [email protected] — patch questions are our favorite kind.